Apache(Web 网站服务)
Apache 包含在 CentOS 的 httpd 服务中。
安装
输入:
sudo yum update                                   # 更新软件源
sudo yum install httpd                            # 安装 Apache
sudo firewall-cmd --add-service=http --permanent  # 开放 80 端口
sudo firewall-cmd --add-service=https --permanent # 开放 443 端口
启动
sudo systemctl start httpd.service  # 启动 Apache
sudo systemctl enable httpd.service # 设置开机启动 Apache
sudo systemctl status httpd.service # 查看 Apache 运行状态
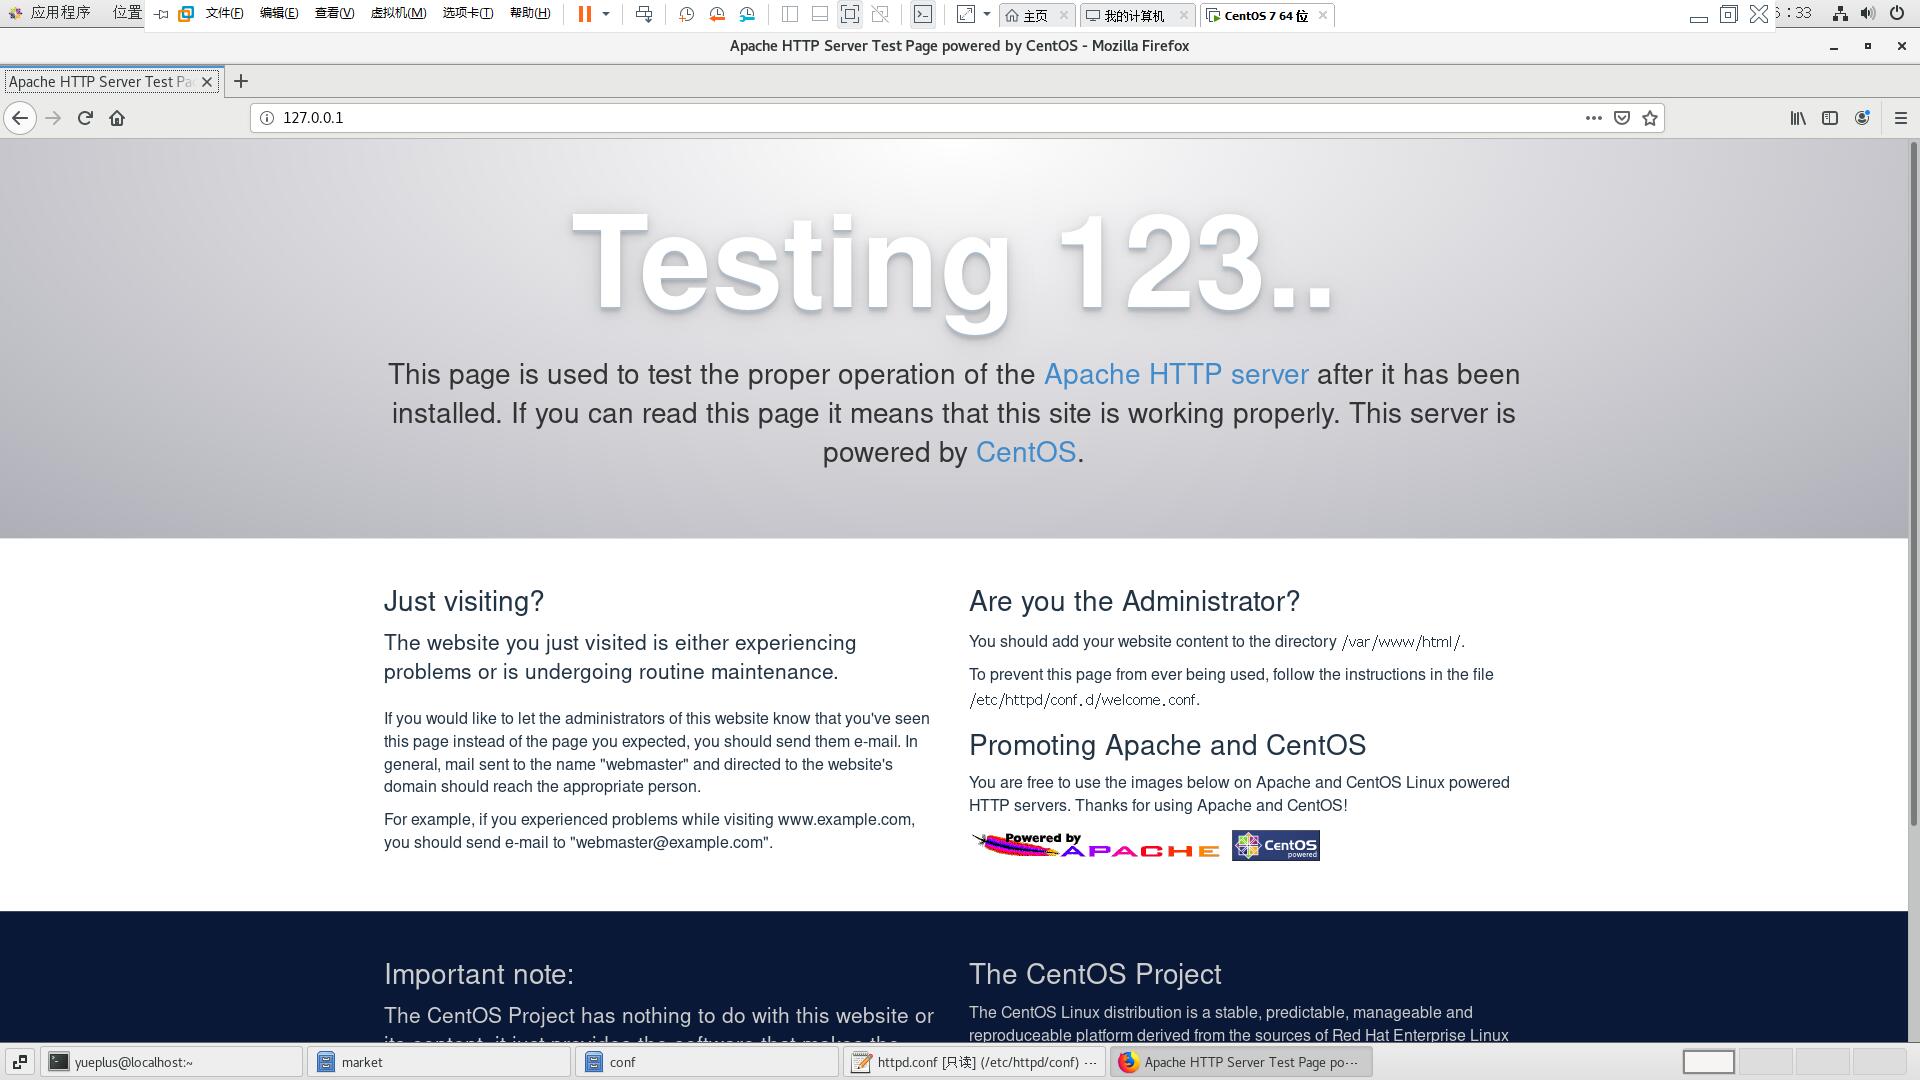
启动后可以在虚拟机浏览器中访问 http://127.0.0.1/ 测试,成功页面:
配置
配置简单网站
网站主目录为
/skillschina/market/,网页的内容是“迎访问网上交易系统”;(2分)建立目录
sudo mkdir -p /skillschina/market/mkdir- 新建一个目录;mkdir -p- 自动建立父级目录;详细说明请在终端输入man mkdir查看在
/skillschina/market/目录下建立index.html文件,然后使用 自己喜欢的 文本编辑器编辑文件内容:<h1>欢迎访问网上交易系统</h1>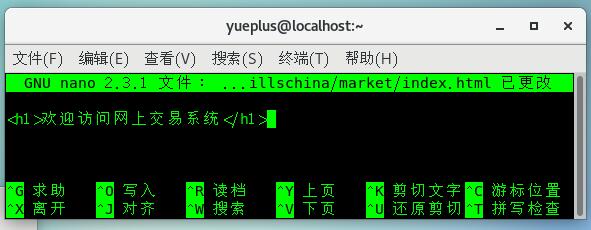
另外,推荐学习 vi/vim 文本编辑器使用教程
修改默认配置文件
备份默认配置文件:
cd /etc/httpd/conf/ # 改变工作目录
sudo cp httpd.conf httpd.conf.bak # 备份原始配置文件
修改配置文件
httpd.conf,第 119 行和第 131 行:113 114 # 115 # DocumentRoot: The directory out of which you will serve your 116 # documents. By default, all requests are taken from this directory, but 117 # symbolic links and aliases may be used to point to other locations. 118 # -119 DocumentRoot "/var/www/html" +119 DocumentRoot "/skillschina/market" 120 121 # 122 # Relax access to content within /var/www. 123 # 124 <Directory "/var/www"> 125 AllowOverride None 126 # Allow open access: 127 Require all granted 128 </Directory> 129 130 # Further relax access to the default document root: -131 <Directory "/var/www/html"> +131 <Directory "/skillschina/market"> 132 # 133 # Possible values for the Options directive are "None", "All", 134 # or any combination of: 135 # Indexes Includes FollowSymLinks SymLinksifOwnerMatch ExecCGI MultiViews 136 #配置 SELinux
推荐方法:
semanage fcontext -a -t httpd_sys_content_t '/skillschina/market/index.html' restorecon -v '/skillschina/market/index.html'不推荐方法:
setenforce 0 # 关闭 SELinux(立即生效,重启失效);0-关;1-开将
/etc/selinux/config文件的第7行:SELINUX=enforcing修改成:SELINUX=disabled(重启生效,重启有效)
测试
执行以下命令重启 Apache,然后使用浏览器访问
http://127.0.0.1/测试是否修改成功。sudo systemctl restart httpd.service
创建 SSL 证书
配置 SSL 链接
sudo yum install mod_ssl.x86_64 # 安装 SSL 模块
sudo systemctl restart httpd.service # 重启 Apache
cd /etc/httpd/conf.d/
sudo cp ssl.conf ssl.conf.bak # 备份默认 SSL 配置文件
修改 /etc/httpd/conf.d/ssl.conf
  95 #   Server Certificate:
  96 # Point SSLCertificateFile at a PEM encoded certificate.  If
  97 # the certificate is encrypted, then you will be prompted for a
  98 # pass phrase.  Note that a kill -HUP will prompt again.  A new
  99 # certificate can be generated using the genkey(1) command.
-100 SSLCertificateFile /etc/pki/tls/certs/localhost.crt
+100 SSLCertificateFile /etc/pki/tls/certs/server.crt
 101
 102 #   Server Private Key:
 103 #   If the key is not combined with the certificate, use this
 104 #   directive to point at the key file.  Keep in mind that if
 105 #   you've both a RSA and a DSA private key you can configure
 106 #   both in parallel (to also allow the use of DSA ciphers, etc.)
-107 SSLCertificateKeyFile /etc/pki/tls/private/localhost.key
+107 SSLCertificateKeyFile /etc/pki/tls/certs/server.key
重启 Apache 使配置文件生效
sudo systemctl restart httpd.service
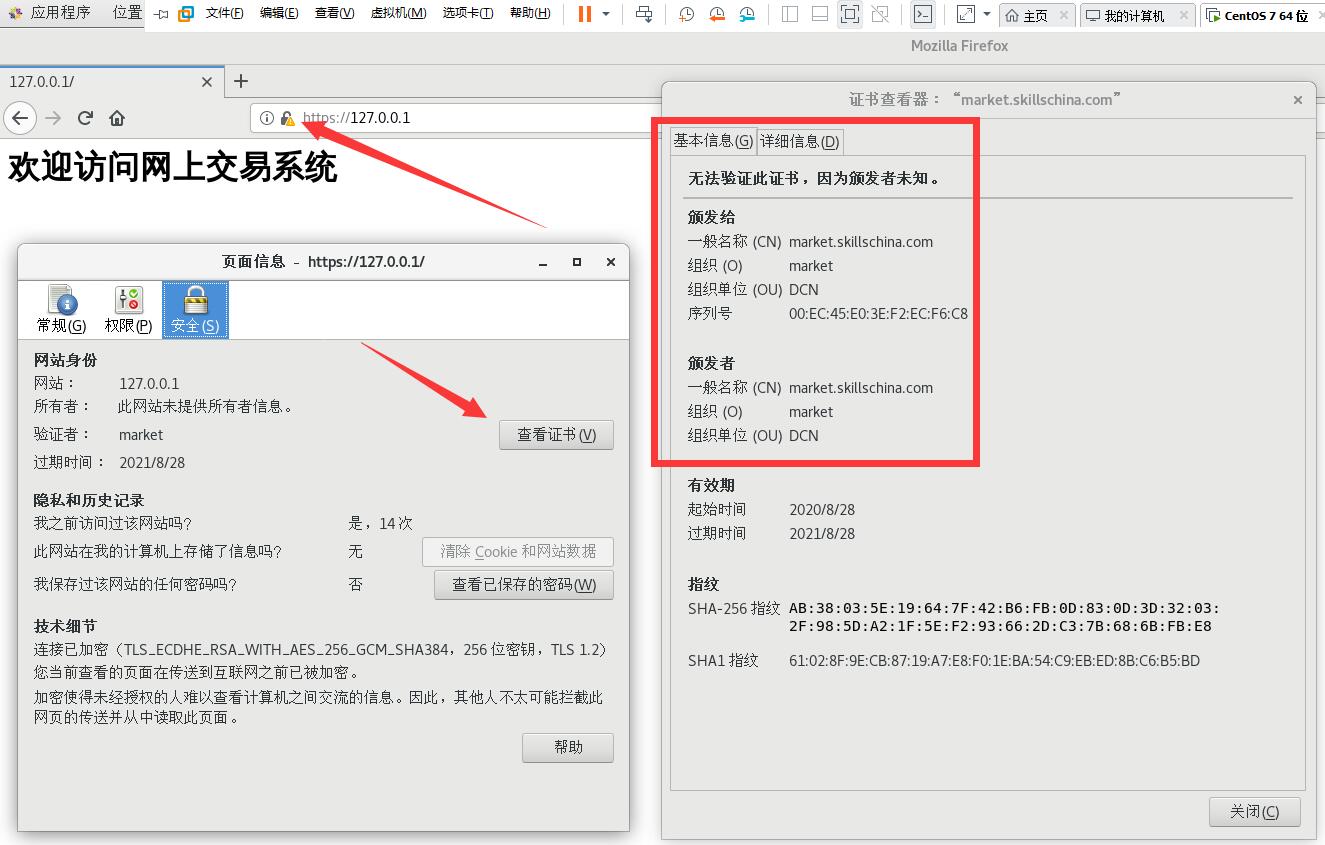
访问 https://127.0.0.1 查看页面证书:
配置仅支持 https 协议链接
注释 /etc/httpd/conf/httpd.conf 文件,第 42 行:
 34 # Listen: Allows you to bind Apache to specific IP addresses and/or
 35 # ports, instead of the default. See also the <VirtualHost>
 36 # directive.
 37 #
 38 # Change this to Listen on specific IP addresses as shown below to
 39 # prevent Apache from glomming onto all bound IP addresses.
 40 #
 41 #Listen 12.34.56.78:80
-42 Listen 80
+42 # Listen 80
重启 Apache 使配置文件生效
sudo systemctl restart httpd.service
现在 http://127.0.0.1 将无法访问,只能访问 https://127.0.0.1
配置访问日志路径与名称
配置访问日志路径和名称为 /var/log/httpd/www.skillschina.com-access_log,日志类型为普通型(common)。
修改 /etc/httpd/conf/httpd.conf 文件:
 191 <IfModule log_config_module>
 192     #
 193     # The following directives define some format nicknames for use with
 194     # a CustomLog directive (see below).
 195     #
 196     LogFormat "%h %l %u %t \"%r\" %>s %b \"%{Referer}i\" \"%{User-Agent}i\"" combined
 197     LogFormat "%h %l %u %t \"%r\" %>s %b" common
 198
 199     <IfModule logio_module>
 200       # You need to enable mod_logio.c to use %I and %O
 201       LogFormat "%h %l %u %t \"%r\" %>s %b \"%{Referer}i\" \"%{User-Agent}i\" %I %O" combinedio
 202     </IfModule>
 203
 204     #
 205     # The location and format of the access logfile (Common Logfile Format).
 206     # If you do not define any access logfiles within a <VirtualHost>
 207     # container, they will be logged here.  Contrariwise, if you *do*
 208     # define per-<VirtualHost> access logfiles, transactions will be
 209     # logged therein and *not* in this file.
 210     #
 211     #CustomLog "logs/access_log" common
 212
 213     #
 214     # If you prefer a logfile with access, agent, and referer information
 215     # (Combined Logfile Format) you can use the following directive.
 216     #
-217     CustomLog "logs/access_log" combined
+217     CustomLog "/var/log/httpd/www.skillschina.com-access_log" common
 218 </IfModule>